First (piece of the) puzzle

First puzzle goal
The first puzzle is going to be one that I mentioned in the previous post's examples and that is a window that is actually an LCD screen that renders stereo images to give the appearance of a window but also have the imperfections of a screen.
Target
What the shader needs to do is to show "subpixels" when viewed from a short distance but look like a normal picture when viewed from afar.
Its limitations compared to a normal window:
- The walls surrounding a normal window would cast shadows inside the room. This one will not cast correct shadows. It will act as an area light
- (optional) Have one or more dead or stuck pixels
Implementation steps
Here's the steps that we'll go through to actually implement this properly.
- The first step is to "pixelize" the image. This may be optional in the end since depending on implementation I may have the camera do this part of the processing
- Next we need to apply the "subpixel" stencil to the image so that it actually gets split into subpixels
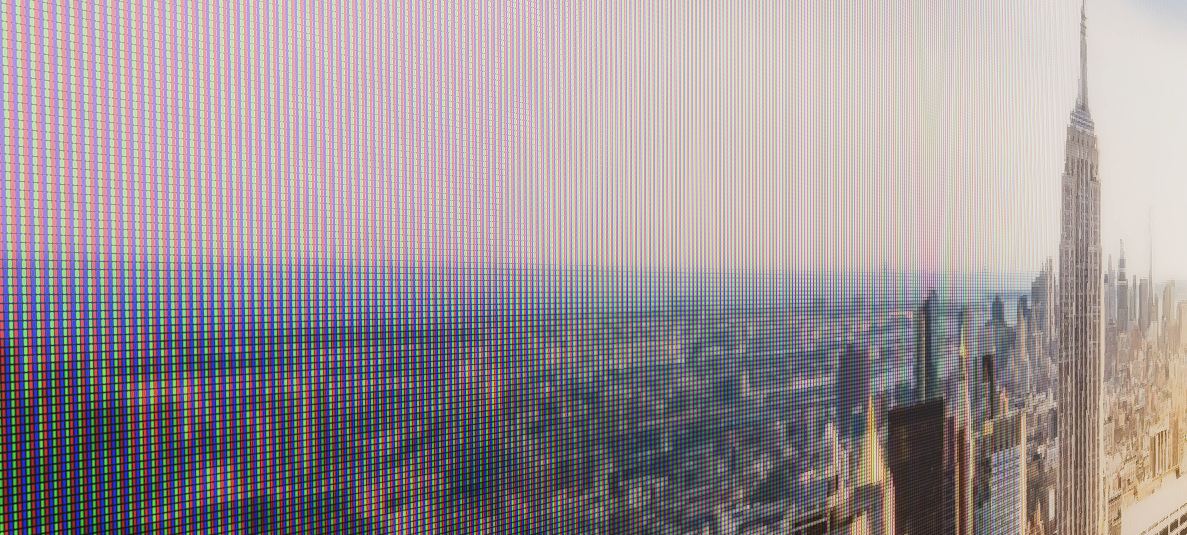
- The last step is a polishing one to sell the effect better. Due to rendering errors and approximations we need to fade out the "LCD effect" as we go further away from the object because instead of all subpixels blending into a uniform color we just get some ugly Moiré patterns. You can even see some of this in the header image.
Actual implementation using Shader Graph
Since I'm using HDRP for this project I'm going to have to use Shader Graph for the shaders. I got experience writing shaders by hand but very limited experience using Shader Graph so here we go.

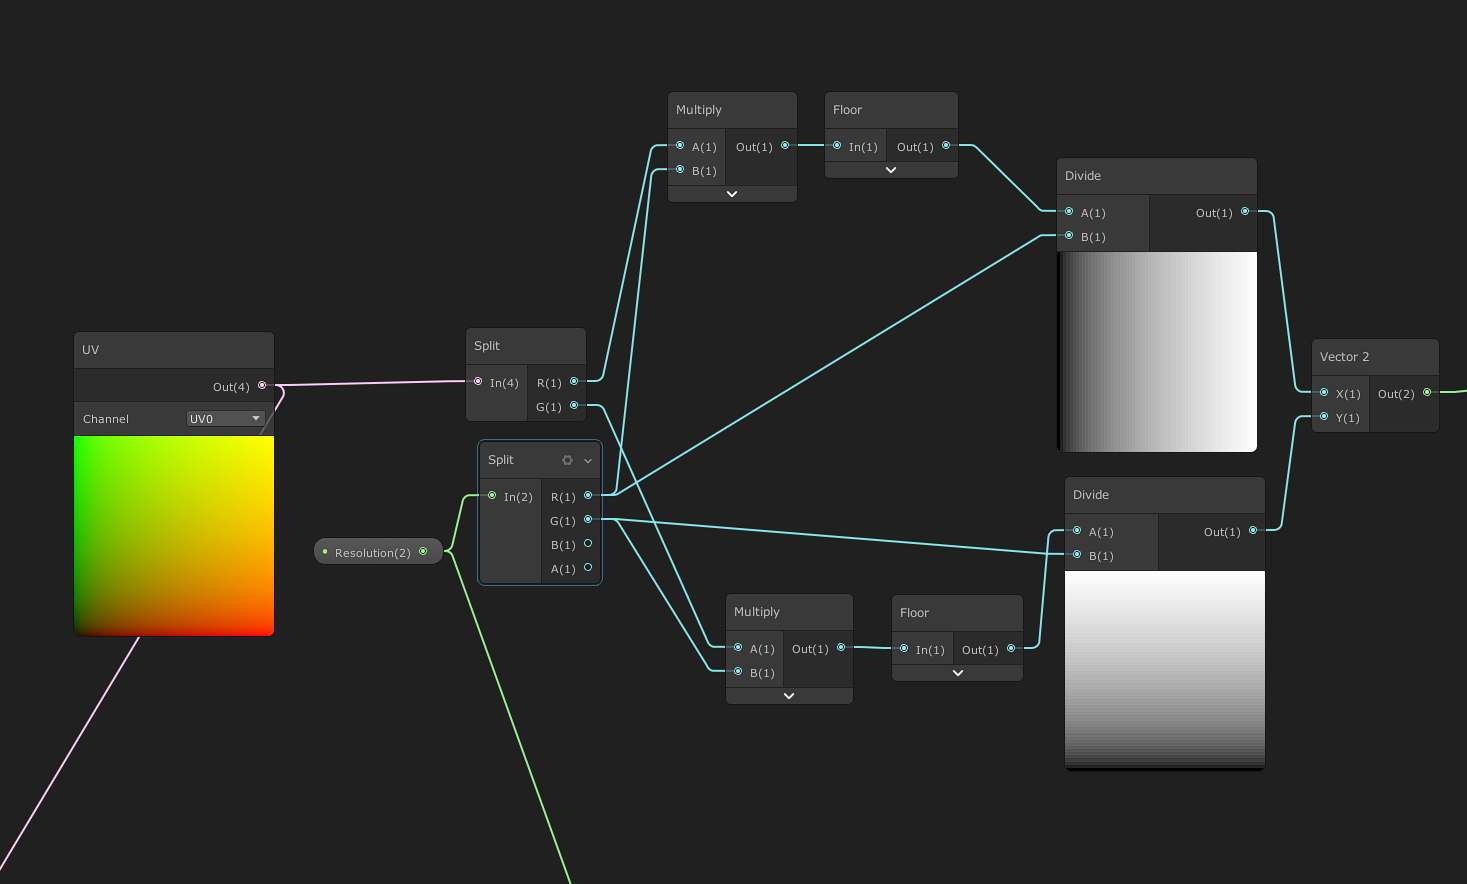
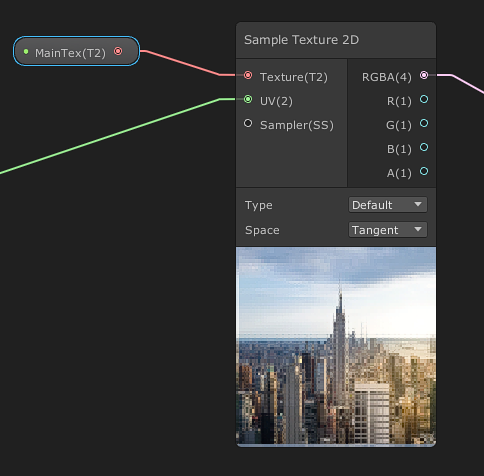
This is the relevant part that deals with the pixelization effect. We get the UVs, multiply them by the "Resolution" parameter, apply floor, then divide them back. You can see the previews of the UV channels are slightly banded. You can see the results of the sampled texture below:

Next we need to create the grid of "pixels". This part of the shader graph takes the original UVs and multiplies them by the "Resolution" parameter which is then used to sample the "pixel" image:

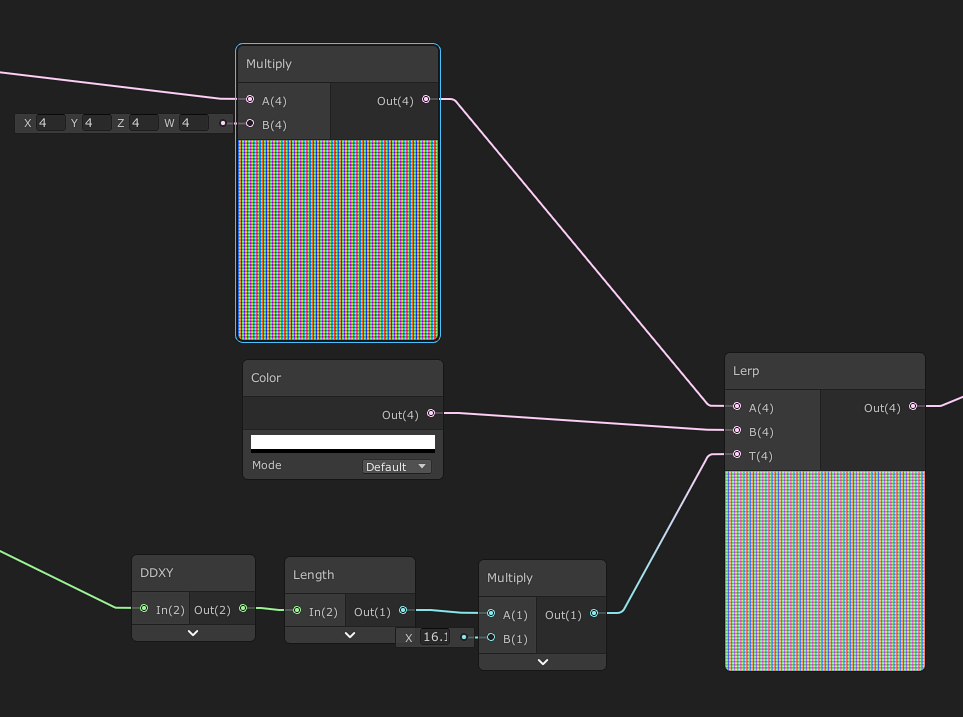
Now we finally get to the fun part: we need to get this grid of subpixels to blend into a white image when seen from afar (when we multiply the result with the test photo, white is neutral and makes to changed to the image).
We determine the blend factor between the white image and the subpixel grid by using derivatives! Sadly Shader Graph at the moment does not support fwidth so we'll have to improvise:


Here's the final assets:
What's next?
So far we got the "LCD" effect going and this was the easy part. The next step is to render a "portal" that looks "outside the window" and have that render target displayed through this screen!