Making the fake window seem real
Above you can see the final result of the fake window but boy was it a journey to get there.
In the previous post I made the "pixelize" effect work on a static image. That was the easy part. The final effect requires the "image displayed on the monitor" to come from a camera that simulates the player's perspective.
Step 1: Fake area

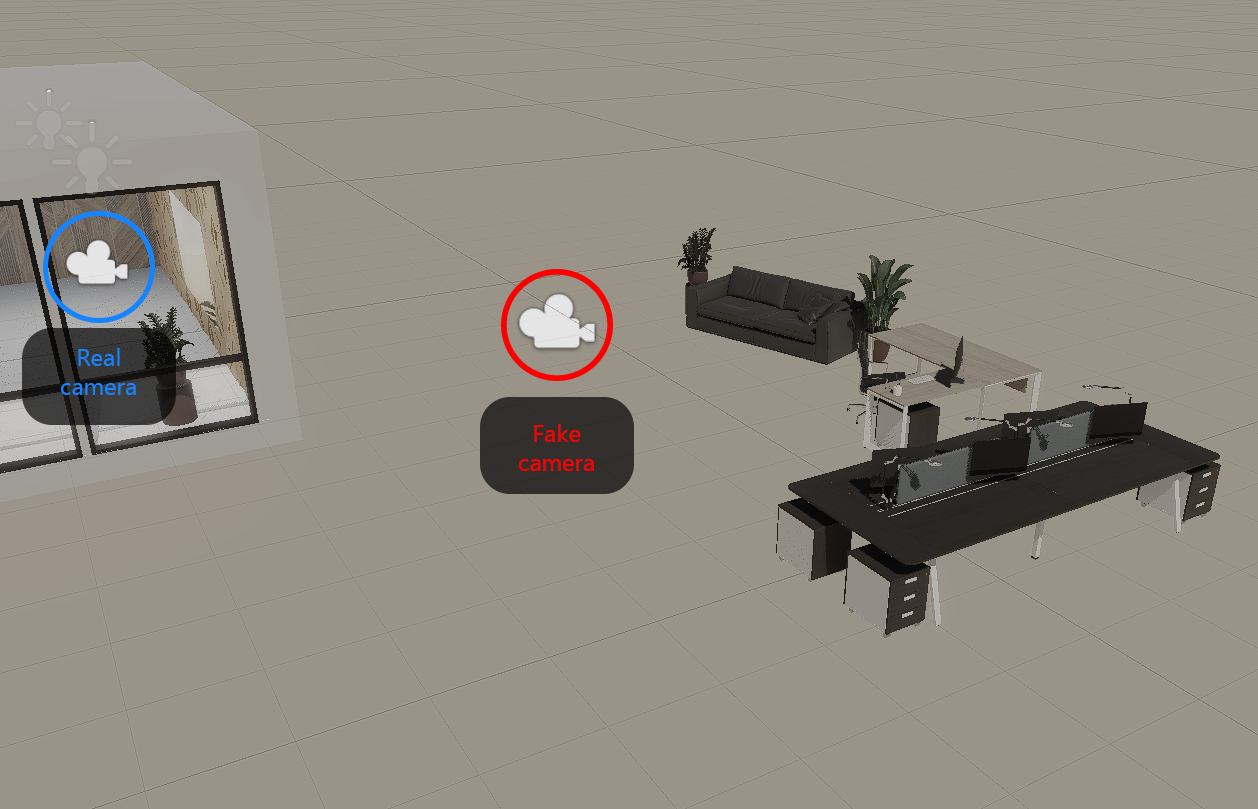
In order to make the screen seem like a real window, we need something to show though it. For this I created a separate area with a camera that follows the movements of the main camera, but in a different place.
using UnityEngine;

public class CameraFollowLocal : MonoBehaviour
{
   public Camera cameraToFollow;
   private Camera cam;

    void Start()
    {
       cam = GetComponent<Camera>();

       var renderTarget = cam.targetTexture;
       cam.CopyFrom(cameraToFollow);
        cam.targetTexture = renderTarget;
    }

    void Update()
    {
       transform.localPosition = cameraToFollow.transform.position;
       transform.localRotation = cameraToFollow.transform.rotation;
    }
}
This is the camera follow code. First we make sure to copy the parameters from the camera we are following and then copy the GLOBAL position and rotation of the camera to the LOCAL position and rotation of the fake camera. This ensures that whatever we display on the monitor will seem to be from the perspective of the main camera.
Step 2: Have a breakdown
The problem that needs solving now is how to map the UV-space "pixelize" effect to a screen-space coordinate. We need this because although the image will be from the camera's perspective (to simulate the window) the pixelization needs to be done from the "monitor"'s perspective.
Many hours were spent trying out different approaches using the Shader Graph:
- Tried to encode a UV displacement per-pixel so that each pixel points to the center of the "monitor pixel" and convert that to screen space so I can sample the screen texture from there
- Tried projecting the screen-view UV to object space in order to pixelize them there and then convert them back to sample the texture
- Even thought about generating a vertex for each "monitor pixel" that will sample one color from the screen space texture then expand it into a quad using a geometry shader
None of the above worked so I went to bed...
Step 3: Solution
The solution that I came up with was yet another approach that was even easier: convert the pixelized UVs from above into object space positions and project them to the screen (same thing we do with vertices mostly) and then sample based on that.
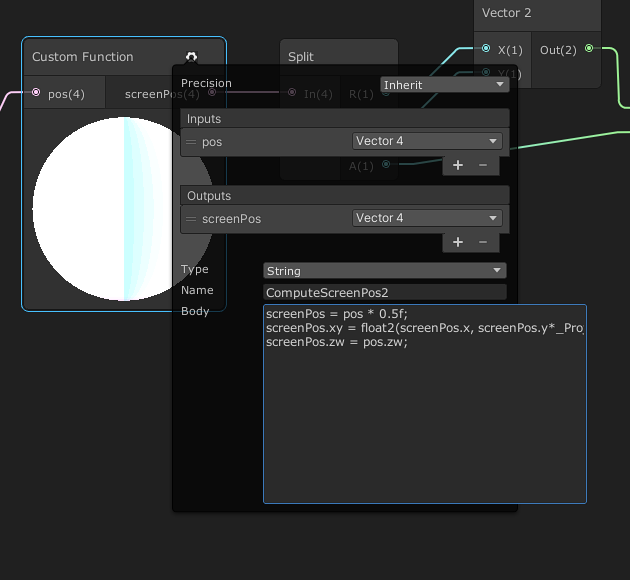
I ended up creating a custom Shader Graph node with a few lines of code:

Custom node code:
screenPos = pos * 0.5f;screenPos.xy = float2(screenPos.x, screenPos.y*_ProjectionParams.x) + screenPos.w;screenPos.zw = pos.zw;
It's basically just "ComputeScreenPos" from Unity's builtin shaders.
The input to this node needs to be a clip-space position so I also added those nodes to the graph.
I also fixed a small issue from the previous version. In order to preserve the same brightness from near to far I had to adjust the "far" color from white to more of a grey.
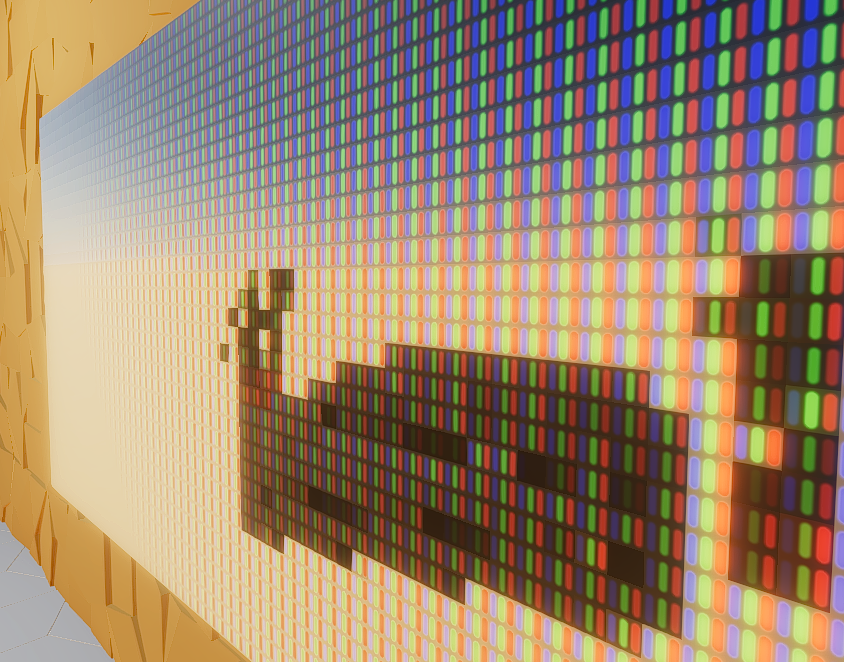
And here's an image where I lowered the resolution of the monitor to confirm that the pixels are aligned with the monitor even if the sampling is from a screen-space texture

The relevant assets: